
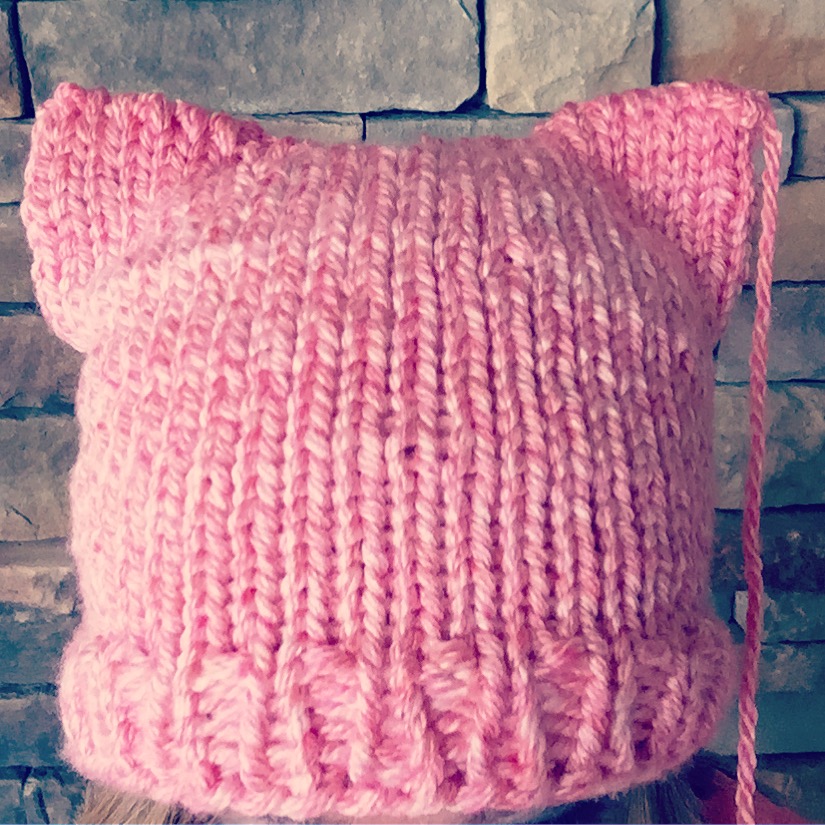
Hello, today I worked on coming up with a pattern for this loom knit cat hat. Traditionally this hat is knit flat then seamed up the sides. It can be done that way on the loom also but I wanted to knit mine in the round. The seam will be at the top and not along the sides. I hope you enjoy this pattern!
 |
| #loomknitcathat #loomknitpussyhat #pussyhatproject #freepattern #freeloomknittingpatterns #freeloomkntihatpattern #loomknithat #loomknittingpatterns #womensmarch #getinvolved #knitintheround |
Cat Hat Pattern
Supplies
- Any round loom that will fit the recipients head. This pattern was written for the 48 peg, 5/8" peg spacing round loom specifically (teen/adult size). It is easily modified to any round loom.
- Knitting tool
- Crochet hook
- Yarn Needle
- Yarn: Any is ok with this pattern, Use desired weight/Color should be pink if using for the #pussyhatproject. Sample was knit with 2 strands Vanna's Colors by Lion Brand, Color #214, Geranium. #5 weight yarn. 2 strands used as one.
Pattern
Foundation round: Chain CO all pegs; join to work in the round.
Rounds 1-6: *K1, p1, repeat from * to end of round.
Round 7: Knit (u-knit or regular knit)
Repeat round 7 until your hat reaches 8.5 inches (teen/adult). Add a quarter of an inch to the length of this hat if using mattress seam to close up hat...see below for other seaming method.
Take your knitting off the loom...
- Cut 1 strand of yarn 4 inches long (this is only if using 2 strands as one, otherwise skip this step).
- Wrap the other strand of yarn 3 times around the loom and cut.
- Bind off using gather method and only one strand of yarn (cut the other tail to 4 inches). Do not gather knitting this is only being used as a lifeline to hold your sts.
- Seam your hat using the method below. This method will give you a modified/easy version of the kitchener stitch, meaning your seam will have no bump but the loops will show a bit at the top (see pic above). I like this as it accents the ears. You may use any seaming method you desire. True kitchener or mattress seam will work also.
Now...
 |
| 1. Flatten the hat aligning stitches (front to back). |
 |
| 2. Take your yarn needle through the stitch on the back of the hat. Pointing the needle to the left through the loops. |
 |
| 3. Next, take your needle through the stitch on the front of the hat. Pointing the needle to the right. Repeat steps 2 and 3 until the hat is completely seamed. Weave in ends. 4. Place hat on your head and like magic, the ears will point out! Links to the Pussy Hat Project Women's March Philadelphia Official Pussy Hat Project Happy Loom Knitting and Thanks For Reading! |


2 comments
Gorgeous design. You made this so beautiful. Appreciate it
Thank you Oscar for your kind words! I'm glad you like the hat pattern-Nicole
Post a Comment